


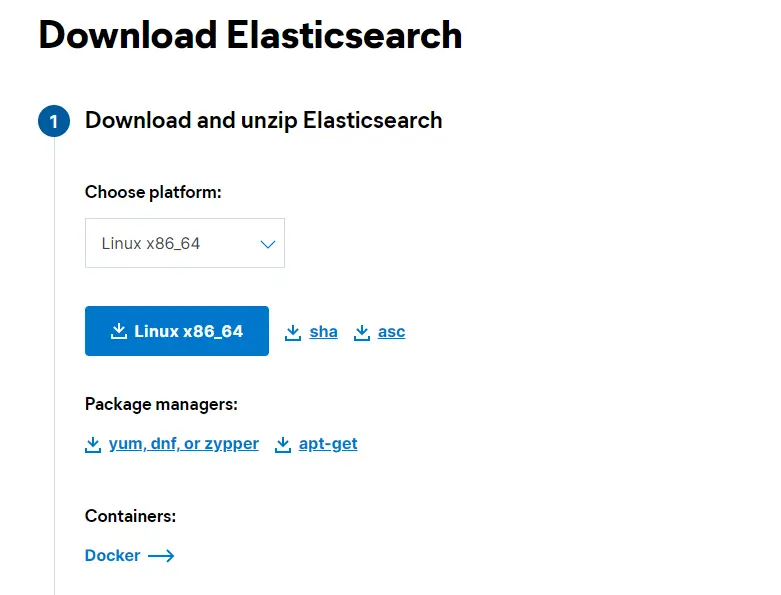
下载ElasticSearch
- 前往官网:https://www.elastic.co/cn/downloads/elasticsearch
-
选择平台
-
使用wget命令保存到本地
<code>wget https://artifacts.elastic.co/downloads/elasticsearch/elasticsearch-7.10.2-linux-x86_64.tar.gz</code>
只能下载不高于7.10.2版本的

解压
- 使用tar命令解压
<code>tar -xvzf elasticsearch-7.10.2-linux-x86_64.tar.gz</code> - 移动到/usr目录下
<code>mv elasticsearch-7.10.2 /usr/local/elasticsearch</code>
创建用户
elasticsearch5 以上不再支持root用户启动,因此需要创建新的用户(或者使用默认账户,创建系统时创建的)
- 创建用户目录
<code>mkdir -p /home/elasticsearch</code> - 创建用户<code>elasticsearch</code>
<code>useradd -d /home/elasticsearch -s /bin/bash -G wheel elasticsearch</code>
安装java11
<code>yum install java-11-openjdk.x86_64 -y</code>
修改配置
-
修改配置文件
- 修改elasticsearch配置文件
<code>vim /usr/local/elasticsearch/config/elasticsearch.yml</code> - 配置服务ip和端口
network.host: 192.168.3.27
 http.port: 9200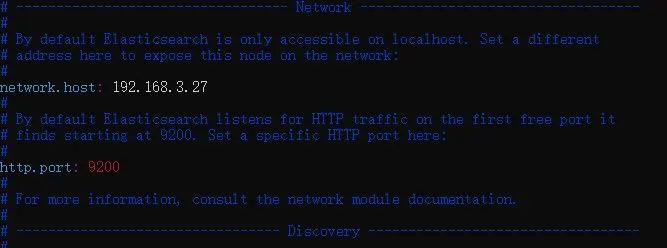
- 配置数据位置
<code>path.data: /home/graylog/esdata/data</code> - 配置日志位置
<code>path.logs: /home/graylog/esdata/log</code>

- 关闭ssl
xpack.security.http.ssl: enabled: false- 其他配置项
cluster.name: Graylog node.name: node-1 cluster.initial_master_nodes: ["node-1"] discovery.seed_hosts: ["192.168.3.27"]- 配置内存
<code>vim /usr/local/elasticsearch/config/jvm.options</code>
-Xms2g -Xmx2g- 调整vm.max_map_count的大小
<code>echo "vm.max_map_count=262144" >> /etc/sysctl.conf</code>
<code>sysctl -p</code>
- 调整max file descriptors大小
<code>echo -e "elasticsearch hard nofile 65536\n elasticsearch soft nofile 65536" >> /etc/security/limits.conf</code>
- 修改elasticsearch配置文件
配置systemd
- 创建service文件
<code>vim /usr/lib/systemd/system/elasticsearch.service</code> -
写入配置内容
[Unit] Description=ElasticSearch Requires=network.service After=network.service [Service] User=elasticsearch Group=elasticsearch LimitNOFILE=65536 LimitMEMLOCK=infinity ExecStart=/usr/local/elasticsearch/bin/elasticsearch ExecReload=/bin/kill -HUP $MAINPID KillMode=mixed SuccessExitStatus=143 Restart=on-failure RestartSec=42s [Install] WantedBy=multi-user.target -
重载systemd配置
<code>systemctl daemon-reload</code>
-
启动并设置开机自启
<code>systemctl enable elasticsearch</code>
<code>systemctl start elasticsearch</code>
设置自定义密码(7.10.2默认没有用户和密码)
<code>./elasticsearch-reset-password -u elastic -i</code>
开放防火墙
<code>firewall-cmd --permanent --zone=public --add-port=9200/tcp --permanent</code>
安装KiBana
-
官网下载Kibana
https://www.elastic.co/cn/downloads/kibana
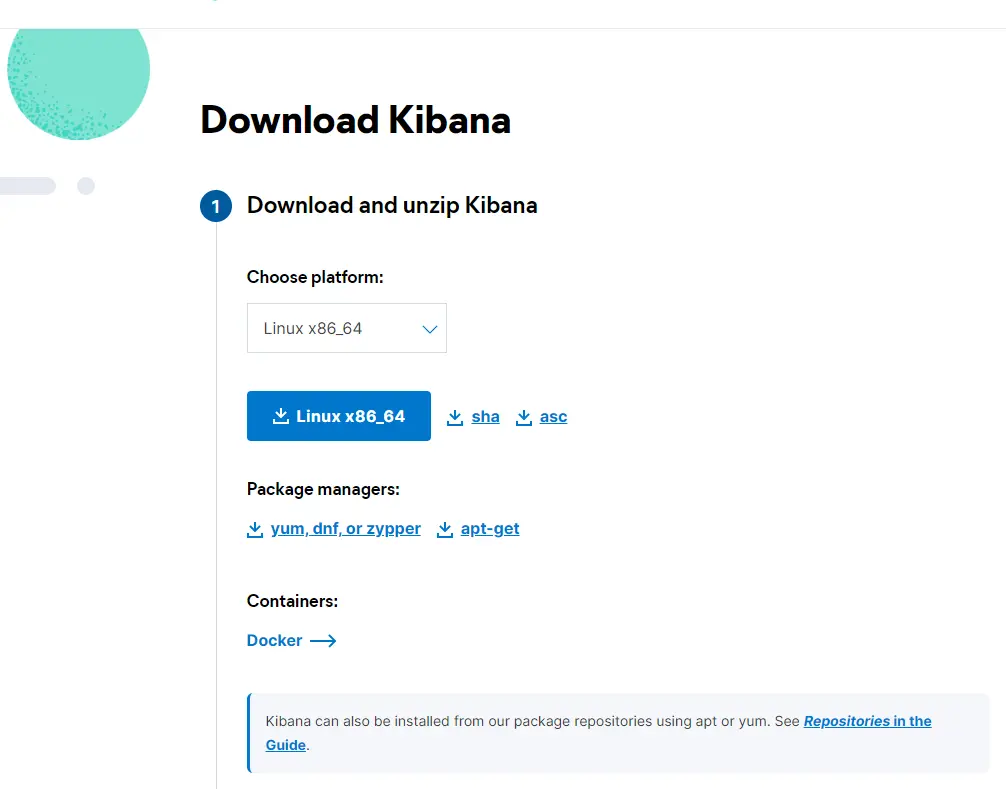
选择对应平台,版本和elasticsearch一定要一致,避免出现玄学情况
-
使用wget下载tar包
<code>wget https://artifacts.elastic.co/downloads/kibana/kibana-7.10.2-linux-x86_64.tar.gz</code>
-
使用tar解压
<code>tar -xvzf kibana-7.10.2-linux-x86_64.tar.gz</code>
-
移动到/usr/local下
<code>mv kibana-7.10.2-linux-x86_64 /usr/local/kibana</code>
- 使用elasticsearch工具生成token(本次安装的版本没有设置安全验证可跳过)
进入elasticsearch的bin目录
<code>./elasticsearch-service-tokens create elastic/kibana kibana</code> -
修改配置文件
<code>vim /usr/local/kibana/config/kibana.yml</code>
server.port: 5601 server.host: "192.168.3.27" elasticsearch.hosts: ["http://192.168.3.27:9200"] i18n.locale: "zh-CN" #elasticsearch.serviceAccountToken: "your token" #因为没有密码所以可以不要最后一行 -
开放防火墙
<code>firewall-cmd --permanent --zone=public --add-port=5601/tcp --permanent</code>
-
修改文件夹权限
<code>chown -R elasticsearch:elasticsearch /usr/local/kibana</code>
-
创建service文件
<code>vim /usr/lib/systemd/system/kibana.service</code>
[Unit] Description=Kibana Requires=network.service After=network.service [Service] User=elasticsearch Group=elasticsearch ExecStart=/usr/local/kibana/bin/kibana ExecReload=/bin/kill -HUP $MAINPID KillMode=mixed SuccessExitStatus=143 Restart=on-failure RestartSec=42s [Install] WantedBy=multi-user.target -
重载、启动、开机自启
systemctl daemon-reload systemctl start kibana systemctl enable kibana -
Comments NOTHING